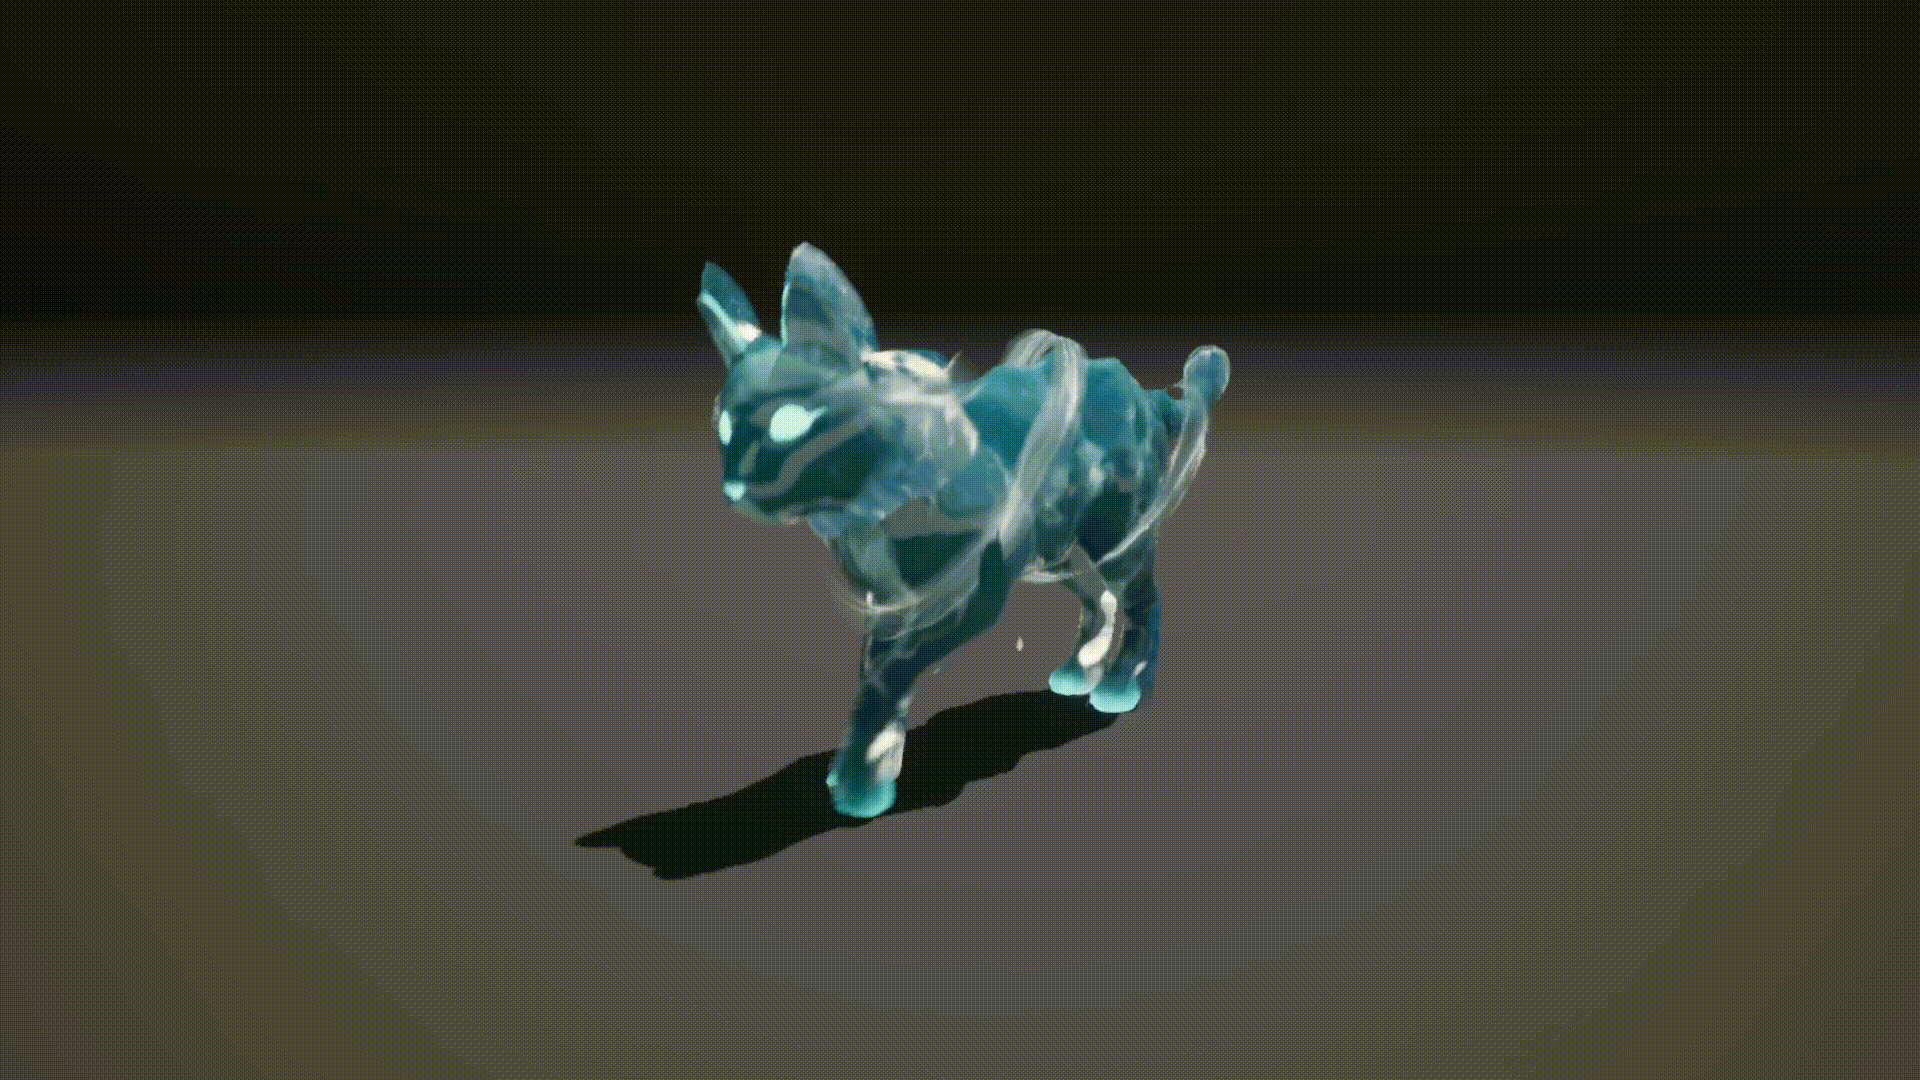
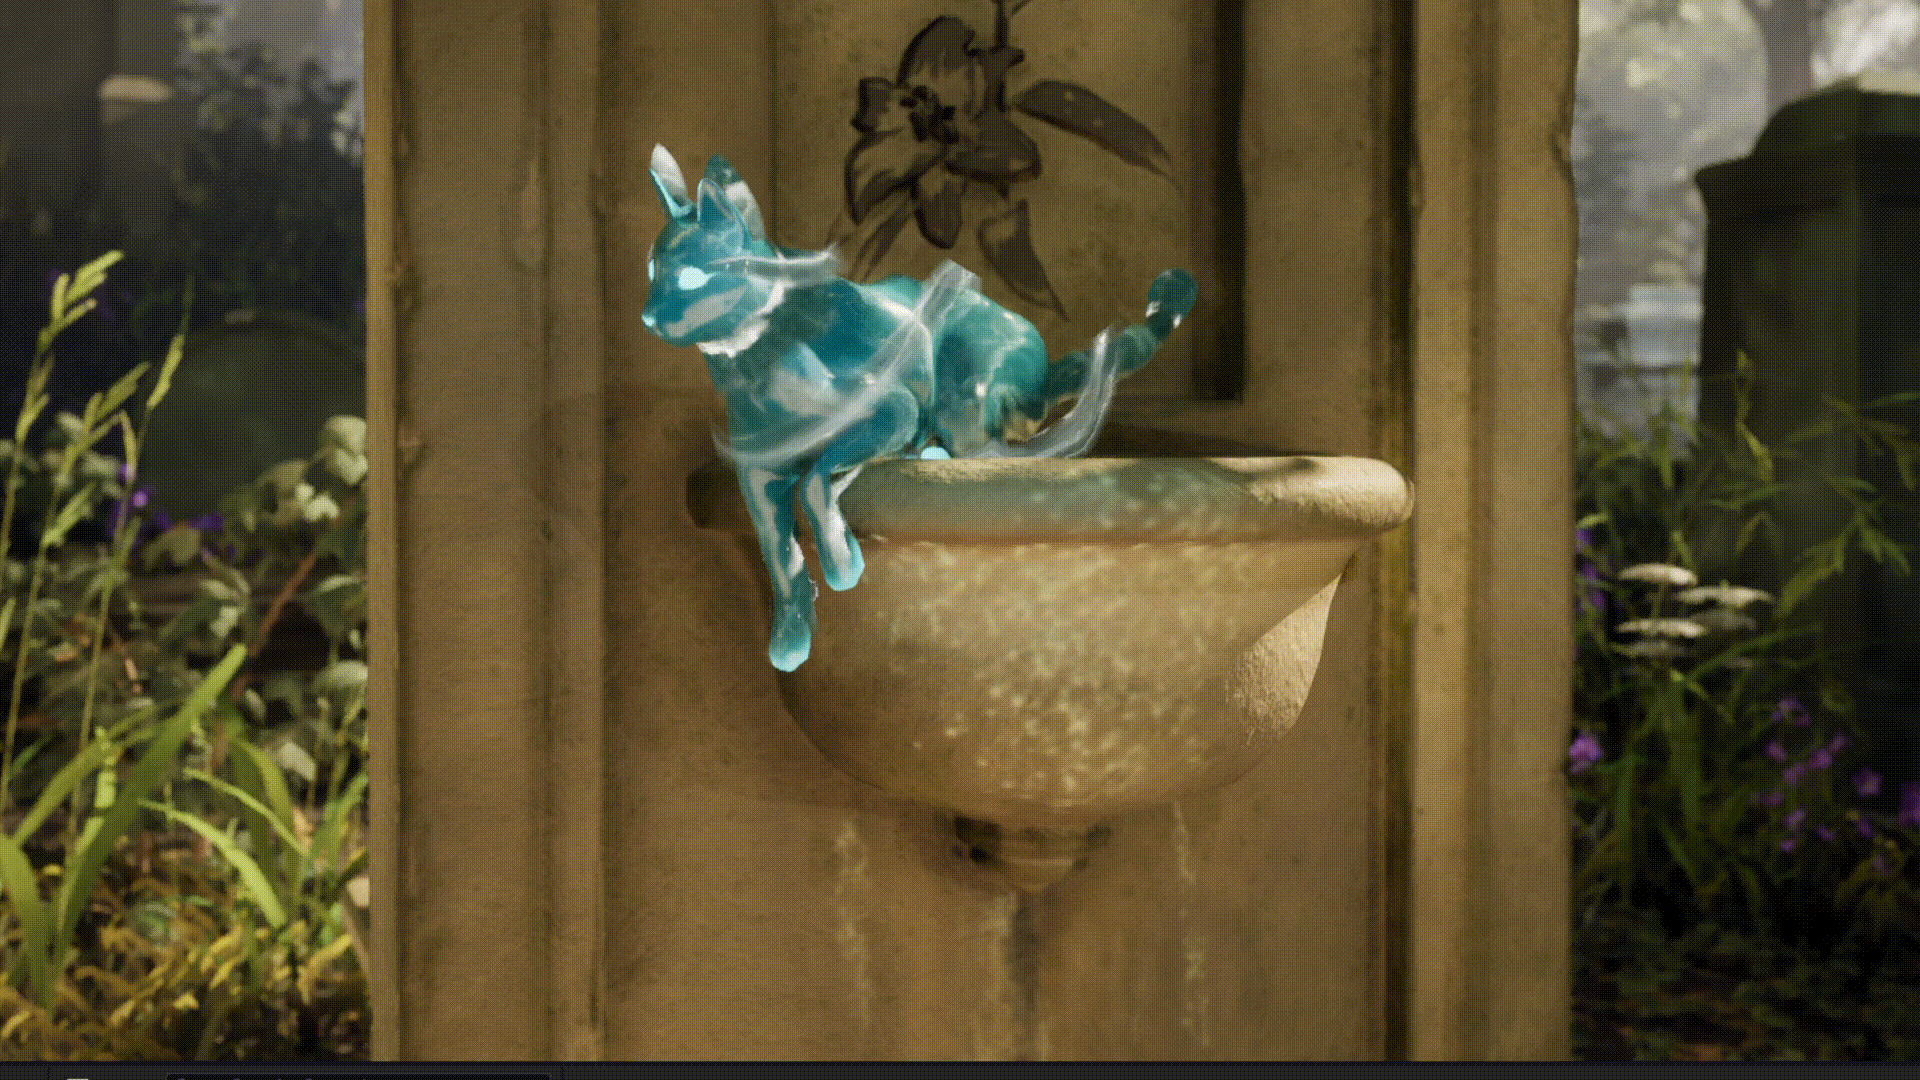
Water Spirit
Water spirit is the 2nd spirit the player will meet in Paws. She's stubborn and arrogant, but she's also lonely and looking for a friend to play with. Her wish is to have something to play with; however, her liquid form is stopping her from being away from a water source.

In-Game Look
Water Cards:
Old Version Cards:
- Not enought poly
- Leg cards doesn't fit visual development design
- Tail card looks rigid

New Version Cards:
- Smoother, high poly cards
- Leg cards deliver the wave motions
- Tail card has dimension

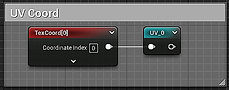
Planned UV Sets in Maya:
Cat Mesh UV
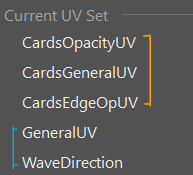
Water Card UV
!! Warning: Unreal Engine doesn't allow skeletal meshes to have more than 3 UV sets so channels might be combined.
Create Textures For Material in Substance Designer:
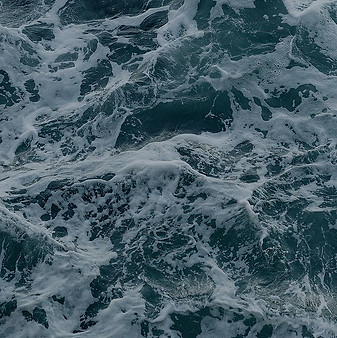
Reference for Wave Texture:
(Image Citation)
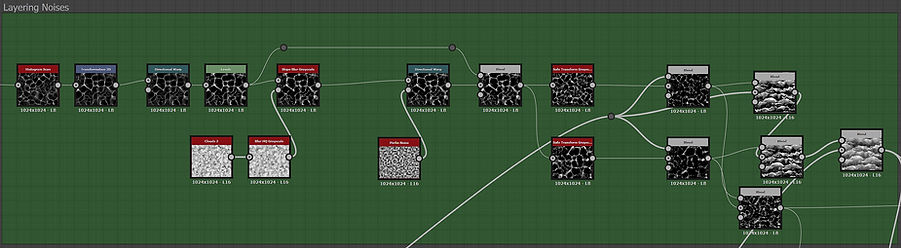
Water caustic and noise maps:
With a Perlin noise running through an RT Caustics Node, I was able to get a base caustic for my water texture. After blending and slope blurring it with larger caustic shapes and other noises, I have my final caustic noises.

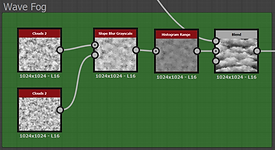
Wave crest mask and fogging texture:
To get the base wave crest shape, I used a Direction Warp with a horizontal gradient and Tile Sampler to scatter it randomly. I got the wave fogging texture after warping and slope blurring the base wave crest shapes. To generate the wave crest texture by using the fogging texture, I used Normal and Curvature Smooth to extract the edge of the wave crest.

Adding more details to wave fogging:
Layering noises:
By blurring and warping the caustic noises even more, I could get the wave trail textures to blend under the wave crest and wave fogging.
Texture outputs:


Graph Overview:

Create Masks for Cat Mesh in Substance Painter:

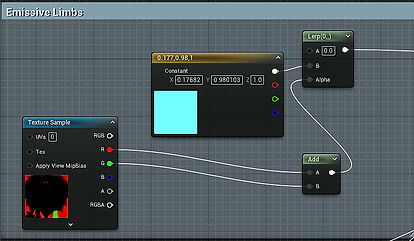
Emissive Mask

Cat Mesh Mask for Normal, Roughness, and AO
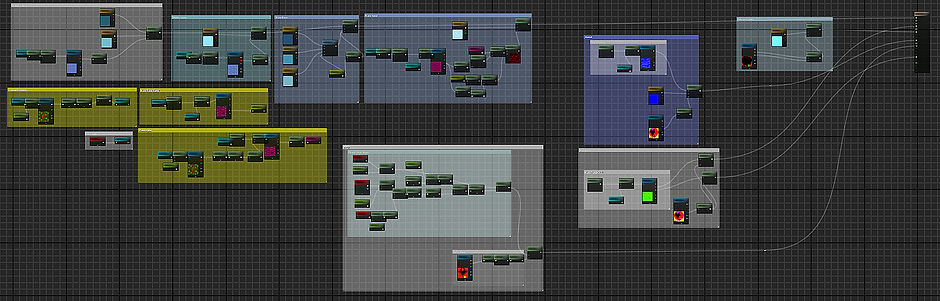
Material Creation in Unreal Engine:
Caustic Layering:
First, I panner the bottom layer caustic noise and gave it colors, and then I layered a larger caustic with brighter color that moves faster on top.


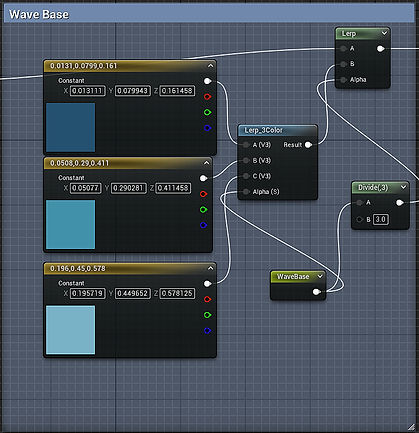
Wave Base:
I used two different perlin noises in R and G channels to create the distortion mask.

Then, I used the distortion mask to modify the wave base textures after panner it.

Lastly, I assigned colors to the wave base and layered it with the caustic noises.
Wave Crest:
For the crest alpha, I panner it with slowest speed and distorted it with the distortion mask.

To create wave trails lingering behind the wave crest, I stretched the wave crest alpha and added distorted wave base texture on top of it.

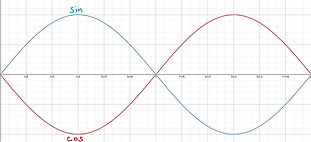
WPO for Cat Body:
I used the logic of cosine and sine to create WPO by offsetting the cosine and generating a value peak as the wave crest. Plus, I used Texcoord to create masks to determine the wave height. Later on, I took away most of the WPO on the cat's face by using the cat mesh mask.
Wave WPO Logic Graph:
Graph in green overlay is our WPO values